
Laravel is one of the most popular PHP frameworks, known for its simplicity, speed, and robust features. It has become a necessity for every PHP developer. It is widely used for building API REST Laravel applications due to its built-in support for authentication, routing, and request handling. It follows the Model-View-Controller (MVC) architectural pattern, which helps separate an application's logic from its presentation layer, making the codebase more organized and easier to manage.
This guide serves as a useful tutorial Laravel for API, helping you set up and build a RESTful API efficiently.
Prerequisites for Installing Laravel on Windows
Before you create a new Laravel API project, ensure your system meets the following requirements:
- PHP: Laravel requires PHP to execute scripts and handle backend logic.
- Composer: Laravel relies on Composer to manage dependencies and install required packages.
To install PHP on Windows, follow the instructions provided in this link.
Installing Composer on Windows
Composer is a dependency manager for PHP, allowing developers to easily manage and install libraries, frameworks, and packages required for their projects. Laravel relies on Composer to manage dependencies and integrate third-party packages. When starting a new Laravel project with the Laravel Installer, Composer automatically installs Laravel’s core components and necessary dependencies. Additionally, developers use Composer to add extra packages, such as authentication libraries or caching systems, to enhance Laravel’s functionality.
Steps to Install Composer on Windows
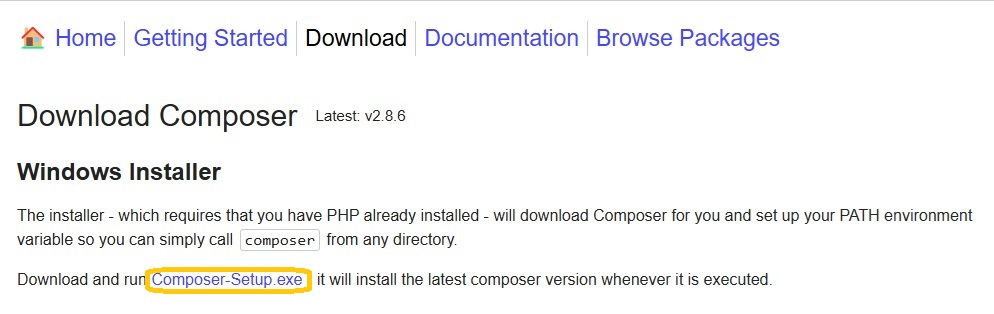
1. Visit the Composer official website and download the latest Composer-Setup.exe file.
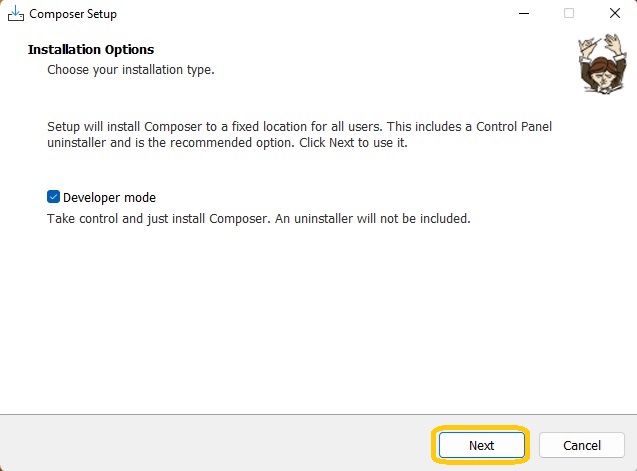
2. After downloading it, run the installer and choose the Developer mode option to customize the installation. Click Next.
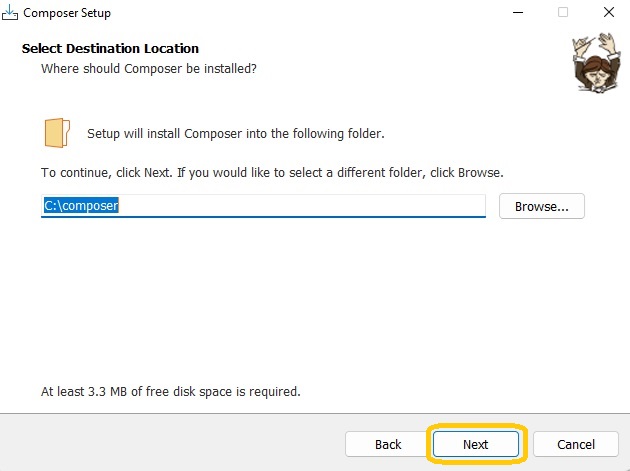
3. It will prompt you to select the destination location for the setup installation. Click Next to continue.
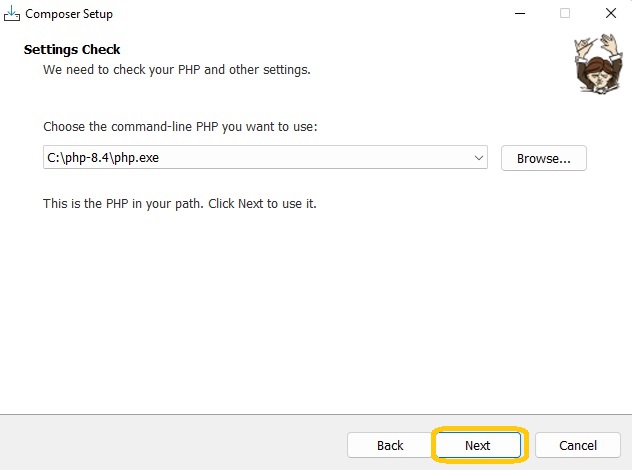
4. The setup will detect the PHP installation path automatically. Click Next to proceed.
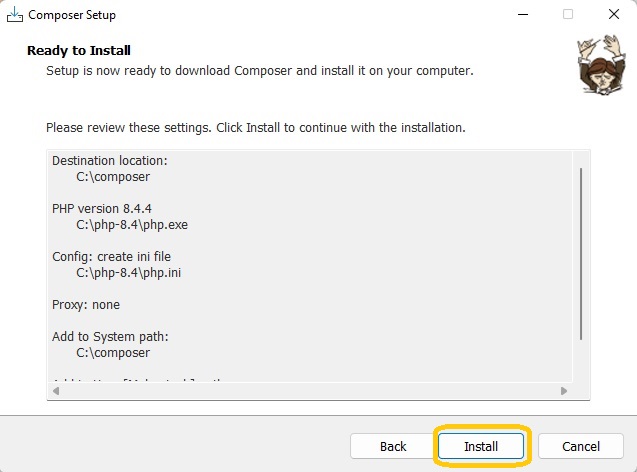
5. Then, the setup is ready to download and install the composer on the computer. Click Install to begin.
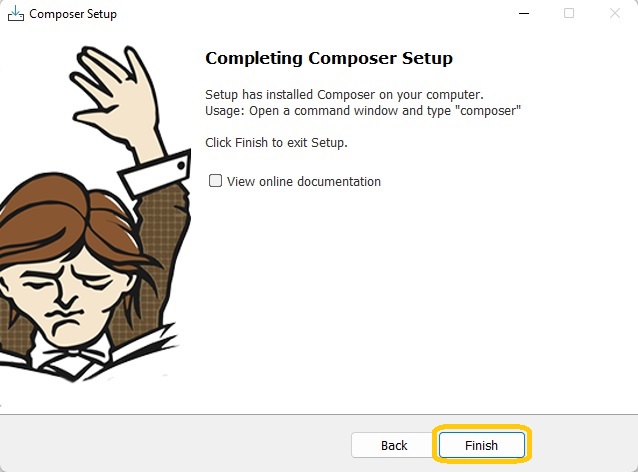
A. Next, you will see a new dialogue window stating that the composer setup is now completed. Click Finish to close the setup.
Verify Composer Installation
To confirm Composer is installed correctly, open the Command Prompt and run the below command:
composer - v
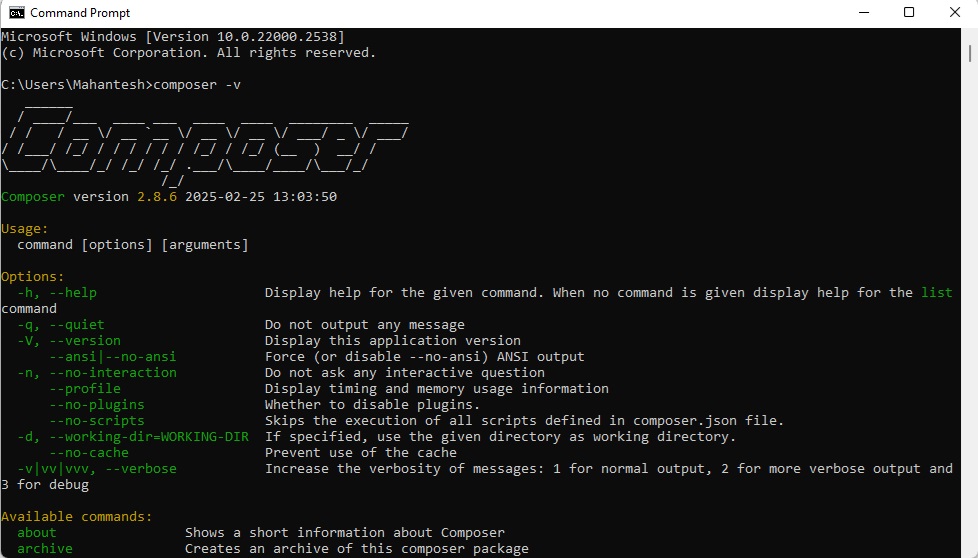
If the installation was successful, you will see the Composer version displayed.
Installing Laravel on Windows
After downloading and installing Composer on Windows, we can begin the Laravel installation process with the following command:
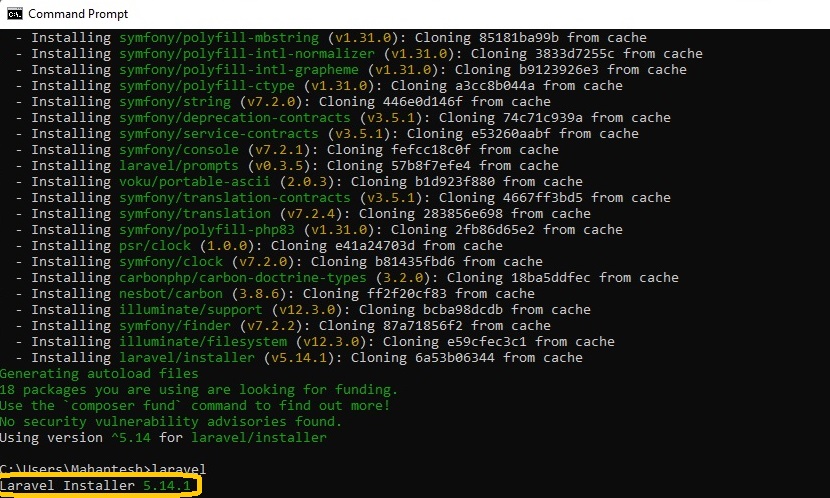
composer global require laravel/installer
After running this command, all relevant Laravel files will be immediately downloaded. The image shows the installed version of Laravel.
Create a New Laravel API Project
After you've installed PHP, Composer, and the Laravel installer, you're ready to start building a new Laravel application. This creates a new Laravel project with the specified name, laravel-restful-api-example. You can change it to whatever name you choose.

Navigate into the laravel project folder as shown below.

Then, start the Laravel development server with the below command:
php artisan serve
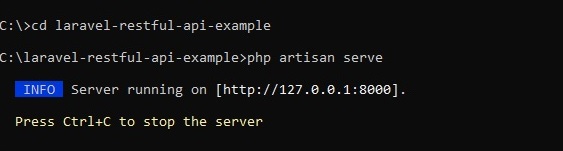
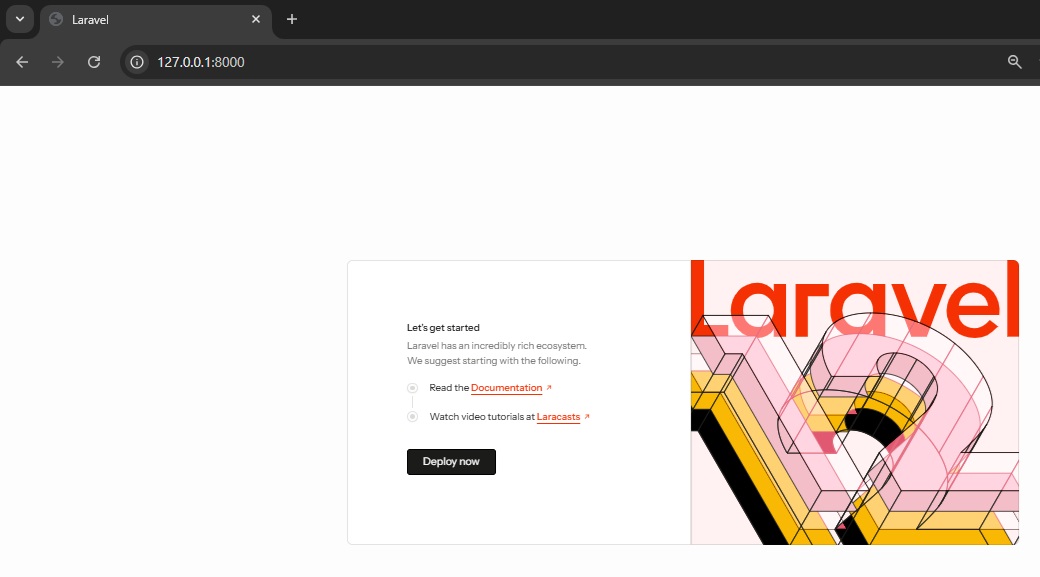
We are now done. We will copy and paste the localhost URL into the browser to see if it works. The Laravel welcome page looks like this.
Setting Up a RESTful API in Laravel
RESTful (also known as REST) is an abbreviation for Representational State Transfer. It enables web service apps to connect with one another. RESTful APIs also facilitate data flow between users and applications. For instance, when you log into a website or access an application on your phone, an API enables communication between your client-server and the host server.
Here is the complete Laravel REST API that stores, updates, and deletes user data in a JSON file. To build a RESTful API, you need to:
- Create a controller for API logic.
- Define API routes.
- JSON storage in storage/app/users.json
Controllers allow you to group related request-handling logic within a single class. Run the following command to generate a new API controller:

This will create “app/Http/Controllers/UserController.php” file.
Routing is a method for generating an application's request URL. All API routes must be added to a specific file (routes/api.php) in Laravel. For this example, we'll utilize the default route file. Enter the routes/api.php file and add the following code to configure API routes.
<?php
use Illuminate\Support\Facades\Route;use App\Http\Controllers\UserController;
Route::get('/users', [UserController::class, 'index']);Route::post('/users', [UserController::class, 'store']);Route::put('/users/{id}', [UserController::class, 'update']);Route::delete('/users/{id}', [UserController::class, 'destroy']);
If you want to store users in a JSON file instead of a database, we can:
- Store user data in storage/app/users.json.
- Read from the JSON file for GET requests.
- Append new users for POST requests.
- Modify users for PUT requests.
- Remove users for DELETE requests.
Create the JSON File in storage/app/users.json and add an empty array as follows:
[ ]
Modify app/Http/Controllers/Api/UserController.php to use JSON file storage:
<?php
namespace App\Http\Controllers;
use App\Http\Controllers\Controller;use Illuminate\Http\Request;use Illuminate\Support\Facades\Storage;
class UserController extends Controller{ private $filePath = 'users.json';
// Fetch all users public function index() { return response()->json($this->getUsers()); }
// Store a new user public function store(Request $request) { $users = $this->getUsers(); $newId = count($users) > 0 ? max(array_column($users, 'id')) + 1 : 1;
$newUser = [ 'id' => $newId, 'name' => $request->input('name'), 'email' => $request->input('email'), ];
$users[] = $newUser; $this->saveUsers($users);
return response()->json($newUser, 201); }
// Update user by ID public function update(Request $request, $id) { $users = $this->getUsers(); $index = array_search($id, array_column($users, 'id')); if ($index === false) { return response()->json(['message' => 'User not found'], 404); }
$users[$index]['name'] = $request->input('name', $users[$index]['name']); $users[$index]['email'] = $request->input('email', $users[$index]['email']);
$this->saveUsers($users);
return response()->json($users[$index]); }
// Delete user by ID public function destroy($id) { $users = $this->getUsers(); $filteredUsers = array_values(array_filter($users, fn($user) => $user['id'] != $id));
if (count($users) === count($filteredUsers)) { return response()->json(['message' => 'User not found'], 404); }
$this->saveUsers($filteredUsers);
return response()->json(['message' => 'User deleted successfully']); }
// Function to get users from JSON file private function getUsers() { if (!Storage::exists($this->filePath)) { Storage::put($this->filePath, json_encode([])); // Create file if not exists }
return json_decode(Storage::get($this->filePath), true); }
// Function to save users to JSON file private function saveUsers($users) { Storage::put($this->filePath, json_encode($users, JSON_PRETTY_PRINT)); }}
Testing API Endpoints in Postman
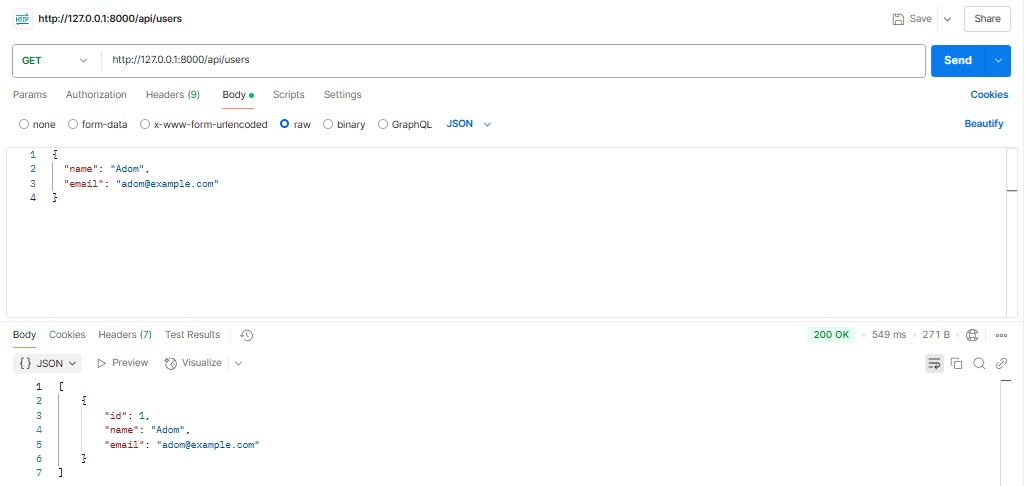
1. Create a User using the POST method and select the Send option.

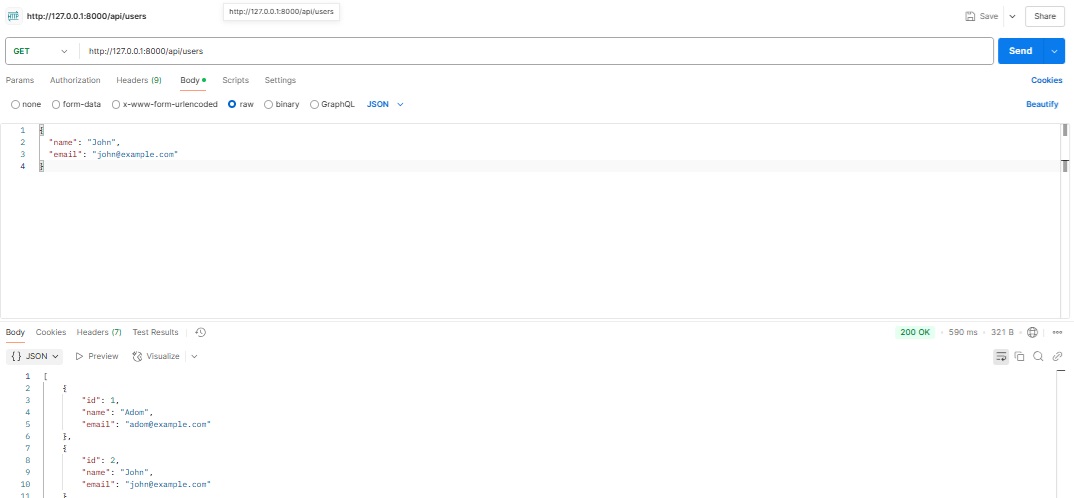
2. Next, use the GET method to retrieve the User.
3. You may also verify in the browser, as seen below. 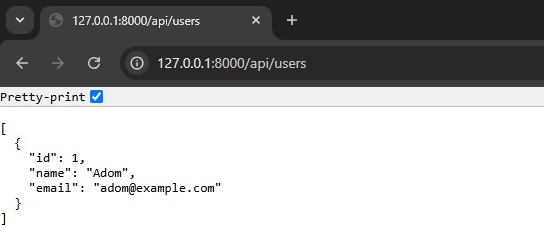
4. We will now add another detail to the JSON using the POST method and get the details using the GET method.
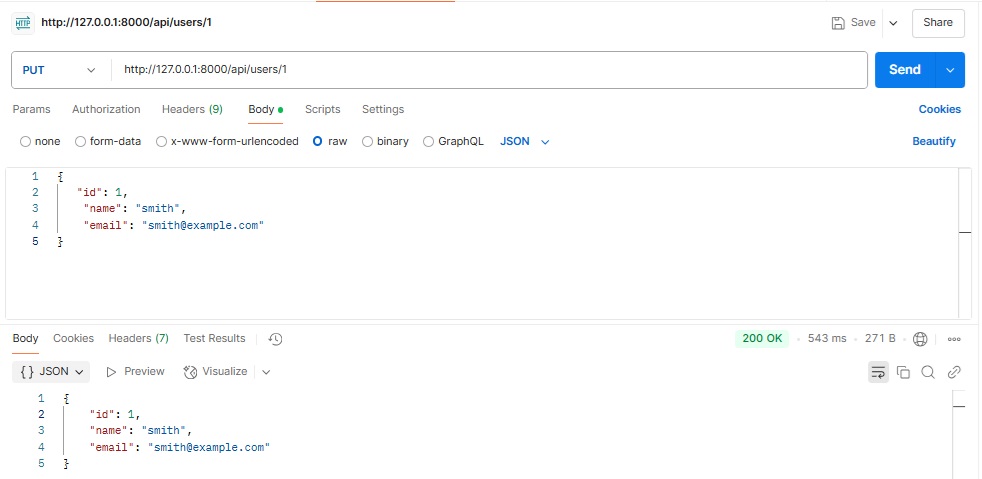
5. Now, we'll utilize a PUT request to modify the details for id=1. We will update the name and email address of user id '1'.
6. Finally, let's delete the user using the DELETE method, supplying the ID in the URL.
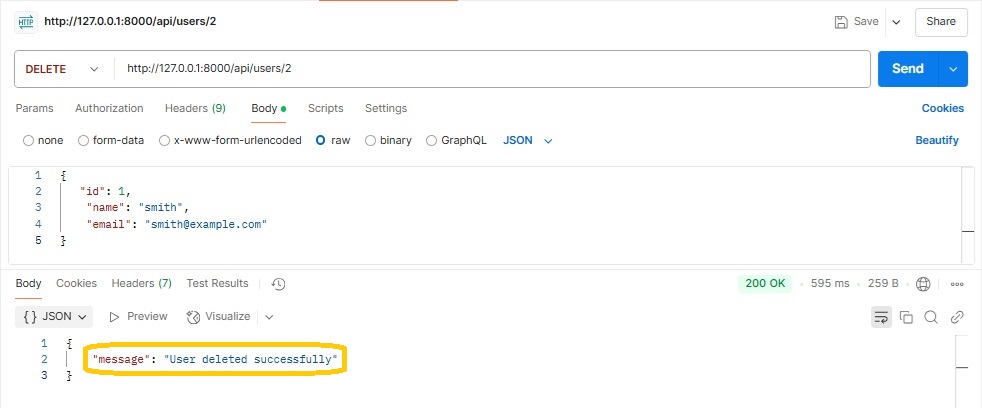
It will show the message as ‘User deleted successfully’.
Conclusion
Laravel PHP framework provides developers with all the tools and structure they need to create effective web-based applications. To install Laravel on Windows, you must first install PHP and Composer, which expedite dependency management and project setup. Laravel improves the development experience for Windows users by making it easier to install, compatible across operating systems, and supports numerous development environments. It promotes productivity, scalability, and cross-platform compatibility.
Also, check out the tutorial on performing CRUD operations using the Laravel framework.
