MongoDB is the most popular NoSQL database server and it can be used to store JSON documents. MongoDB is a document-oriented, open-source, and platform-independent Database Management System (DBMS). This tutorial provides all the steps required to install and set up the MongoDB 5 Community Server, MongoDB Compass, and MongoDB Shell on Windows 10. The steps should be the same for other versions of MongoDB including MongoDB 4 and Windows systems.
Notes: You can also follow How To Install MongoDB 5 on Ubuntu 20.04 LTS and How To Install MongoDB 5 on Mac.
Download MongoDB
Open the MongoDB Download Page and download the most recent version of MongoDB for Windows as shown in Fig 1.

Fig 1
Click on the Download Button to start the download as highlighted in Fig 1.
Install MongoDB
In this step, we will install the MongoDB server using the MSI installer downloaded by us in the previous step. Double click the installer to start the installation. It will show the welcome screen as shown in Fig 2.

Fig 2
Click the Next Button to continue with the installation. The next screen shows the License Agreement as shown in Fig 3.

Fig 3
Accept the License Agreement as shown in Fig 3 and click the Next Button to continue with the installation. The next screen asks to choose MongoDB setup type as shown in Fig 4.

Fig 4
I have clicked the Custom Button to view the available components as part of this installation process as shown in Fig 5.

Fig 5
We need at least Server and Client options to work with the server. You may omit the other components as listed in Fig 5. You can also change the installation location at this stage by clicking the Browse... Button. Now click the Next Button to continue the installation. The next screen provides options to configure MongoDB as a system service as shown in Fig 6.

Fig 6
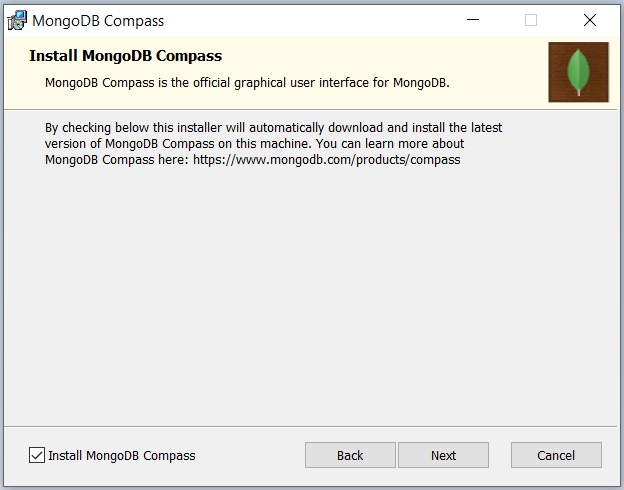
I have kept the default options and clicked the Next Button. The next screen provides options to install MongoDB Compass as shown in Fig 7. MongoDB Compass is the official graphical user interface for MongoDB to manage the database graphically similar to how we use Workbench for MySQL.

Fig 7
I have kept the option enabled to install MongoDB Compass as shown in Fig 7. Now click the Next Button to continue with the installation. The next screen shows the options to confirm the installation using the options selected by us in the previous steps as shown in Fig 8.

Fig 8
Now click the Install Button to start the installation. It will ask for system permissions to start the installation. Allow it to make the necessary changes as part of the installation process. It will show the installation progress as shown in Fig 9.

Fig 9
It will show the installation success message after completing the installation as shown in Fig 10.

Fig 10
Click the Finish Button to close the installer. The installer will also install MongoDB Compass and launch it as shown in Fig 11.

Fig 11
This completes the installation and setup of MongoDB with Compass. It will also create the Desktop Icon to launch the MongoDB Compass from the desktop. Close the MongoDB Compass.
System Path
We can add MongoDB to system PATH to access it directly from the command prompt without navigating to the bin directory. You can follow the below-mentioned steps to do so.
Right Click -> My Computer(This PC) -> Properties -> Advanced System Settings
The above steps will open the Windows settings panel. Now click the Environment Variables, select Path under the System Variables section, and click the Edit Option. We need to add the path of installed MongoDB to the system Path as shown in Fig 12.

Fig 12
Remove the path of previously installed MongoDB. Now click the New Button and add the path to MongoDB bin which is E:\tools\db\mongodb\5.0\bin in my case. Press the OK Button 3 times to close all the windows. This sets the MongoDB 5 on system environment variables to access the same from the console.
Now again open the console and test the MongoDB version as shown in Fig 13.

Fig 13
It also confirms that MongoDB is successfully installed on the system.
Install MongoDB Shell
In this step, we will install MongoDB Shell or mongosh, since the Mongo Shell has been deprecated as shown in Fig 14.

Fig 14
We can download MongoDB Shell from the official Download Page. It provides the options to download MongoDB Shell as shown in Fig 15.

Fig 15
Now execute the installer to start installing MongoDB Shell on Windows 10. The installer shows the Welcome Screen as shown in Fig 16.

Fig 16
Click the Next Button to continue the installation. The next screen provides options to configure the installation path as shown in Fig 17.

Fig 17
Change the destination path if required and click the Next Button to continue the installation. The next screen provides the options to confirm installing MongoDB Shell on Windows as shown in Fig 18.

Fig 18
Click the Install Button to complete the installation. It will show the success message as shown in Fig 19.

Fig 19
Now click the Finish Button to close the installer. It completes the installation of MongoDB Shell on Windows 10. The installer also configures the system path as shown in Fig 20. You might be required to add it to the system path in case the installer does not create it.

Fig 20
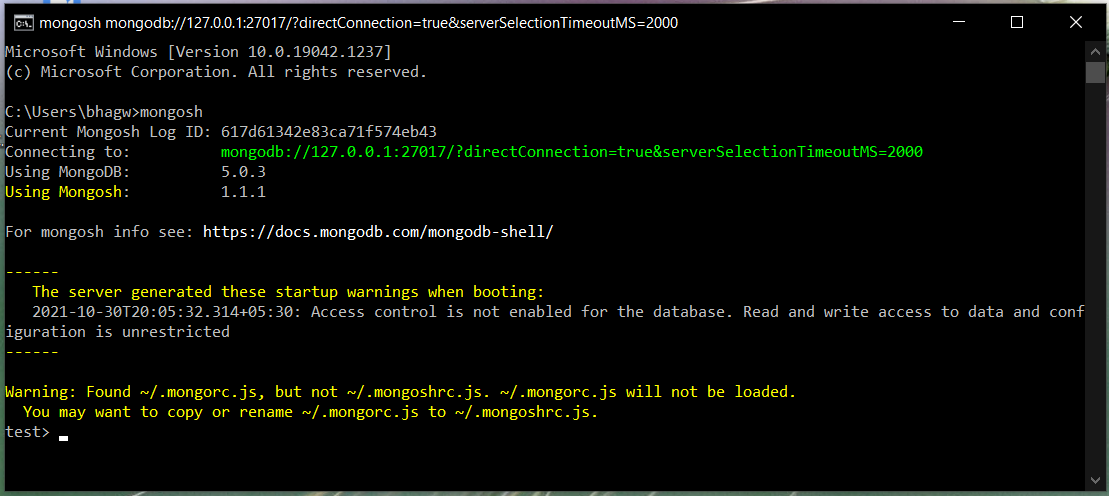
Now open the CMD and access MongoDB Shell as shown in Fig 21.

Fig 21
It shows the warning message indicating that Access Control is not enabled for the database. MongoDB provides options to create the Authentication Database to store user details and privileges across different databases. The same user having appropriate permissions can act on multiple databases using the Role-Based Access Control (RBAC). The RBAC provided by MongoDB governs access to a MongoDB system.
Now list the databases as shown below.
# List Databases
show databases

# Output
admin    41 kB
config  111 kB
local    41 kB
We can see that MongoDB has already created three databases i.e. admin, config, and local. Now we will add the user admin with root role to the admin database using the commands as shown below.
# Switch to admin database
use admin

# Create the admin user with root role
db.createUser( { user: "admin", pwd: "<password>", roles: [ "root" ] } )

# Output
{ ok: 1 }
This is how we can add admin users to the admin database and assign a role to the user.
Enable Authorization in MongoDB
In this step, we will enable the authorization in MongoDB. Optionally it is required to connect MongoDB from programming interfaces. One such example is to connect MongoDB from Laravel Application. In such cases, we must enable the authorization, else an Authorization Failed exception will be thrown.
Update the MongoDB configuration file mongod.cfg located within the bin directory of MongoDB installation as shown below.
#security:
security:
  authorization: enabled
After enabling the authorization, we can connect to MongoDB via MongoDB Shell by executing it with options as shown below. Also, restart MongoDB Service from the system services to apply the changes. We have to specify the authentication database to allow database users to log in via shell.
## MongoDB Shell
mongosh --port 27017 -u "admin" -p "password" --authenticationDatabase "admin"
It should connect to the MongoDB database by providing the correct password as shown in Fig 22.

Fig 22
Getting Started With MongoDB
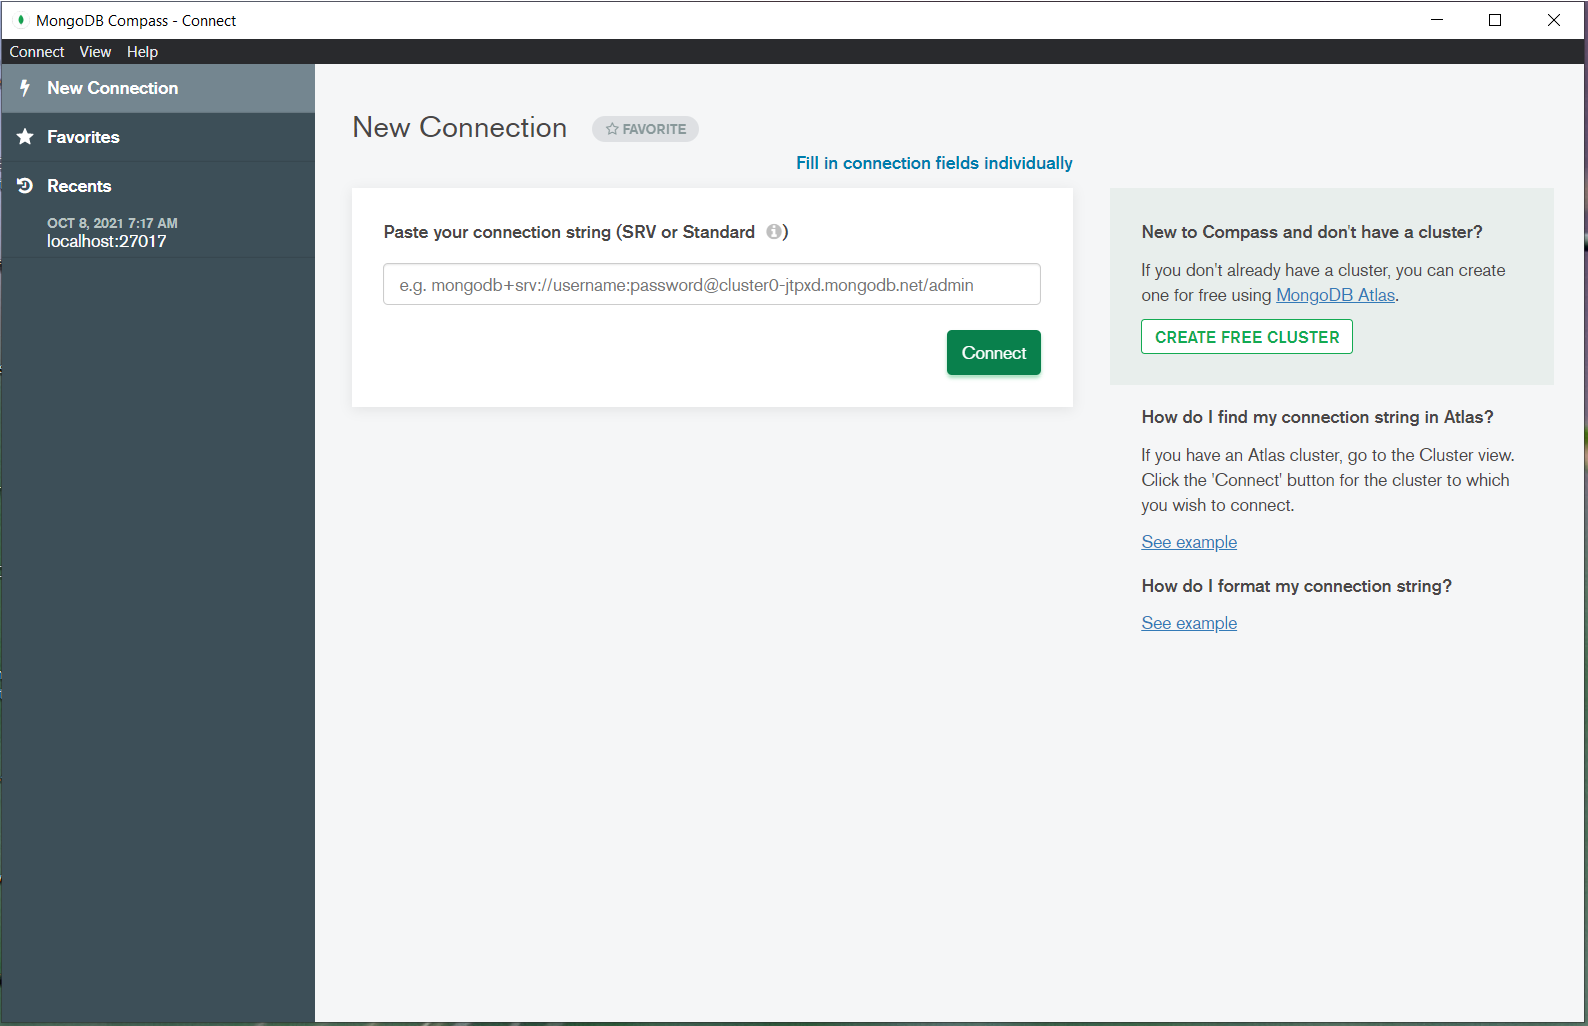
In this step, we will connect to the MongoDB Community Server using the MongoDB Compass using the admin user created by us in the previous step. Launch MongoDB Compass using the desktop icon created in the previous steps. It shows the options to connect using SRV. We can switch to the old style by clicking the option Fill in connection fields individually. It shows the options to connect to the database as shown in Fig 23.

Fig 23
Now configure the connection to connect with MongoDB as shown in Fig 13. After configuring the connection, scroll down and click the Connect Button. It will connect to the MongoDB server and shows the default databases as shown in Fig 24.

Fig 24
Now start creating your own database using the Create Database Button.
Summary
This tutorial provided all the steps required to install the latest MongoDB i.e. MongoDB 5 with MongoDB Compass and MongoDB Shell on Windows 10. We have also created our first admin user and assigned the pre-defined root role. In the last section, we have created a connection using MongoDB Compass to connect with the database server. Now we can access the same database from both MongoDB Shell and MongoDB Compass.

