MySQL Workbench is one of the best tools available in the market for MySQL server. It can also be used for MariaDB. It is a visual database design tool available for database architects, developers and database administrators. We can perform most of the MySQL server database operations using Workbench.
This post explains all the steps required to install MySQL Workbench on Windows 10. The steps for other versions of windows should be the same. Though Workbench is bundled together with MySQL installer, we will discuss the steps required to install it separately since it might be possible to have MySQL server already installed with WampServer or XAMPP bundle. Workbench is also handy to work with other database systems i.e. MariaDB.
Notes: MySQL Workbench 8 needs at least Microsoft .Net Framework 4.5 and Visual C++ Redistributable for Visual Studio 2015.
How To Install MySQL 8 With Workbench On Windows 10 can be followed to install the most recent version of MySQL 8 with Workbench.
Step 1: Download Workbench
Open the official download site of MySQL Workbench. It shows the options to download Workbench as shown in Fig 1. The MySQL Workbench version available while writing this tutorial was 8.0.14.

Fig 1
Click on the Download Button as highlighted in Fig 1. The next page asks to either log in and start the download or download it directly as shown in Fig 2.

Fig 2
Complete the download by following either of the approaches.
Step 2: Install Workbench
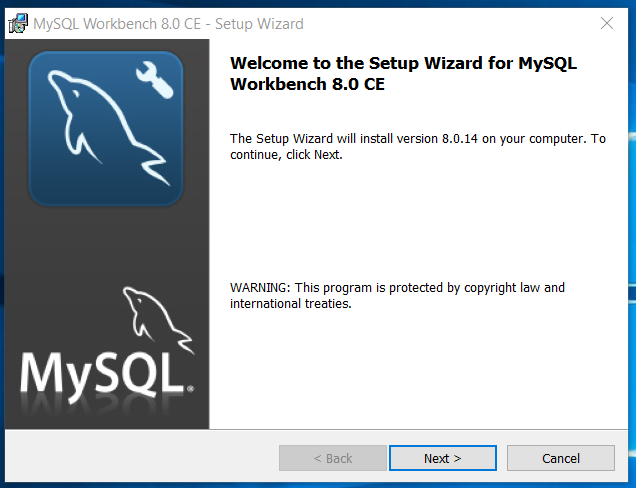
Double click the installer to execute it. It shows the welcome screen as shown in Fig 3.

Fig 3
Click on Next Button to continue installation. The next screen asks the installation path as shown in Fig 4.

Fig 4
Change the path if required and click on Next Button. The next screen shows options to choose the setup type as shown in Fig 5.

Fig 5
We have selected Custom Setup type to make changes. Click on Next Button to view custom options as shown in Fig 6.

Fig 6
We can omit the Program Shortcut by right-clicking it and choose not to install if required. Click on Next Button to confirm installation as shown in Fig 7.

Fig 7
Click on Install Button to start the installation. The installer will ask for system permission. Grant the permissions to allow the installation. It will show the progress as shown in Fig 8.

Fig 8
After completing the installation, a success screen will be displayed as shown in Fig 9.

Fig 9
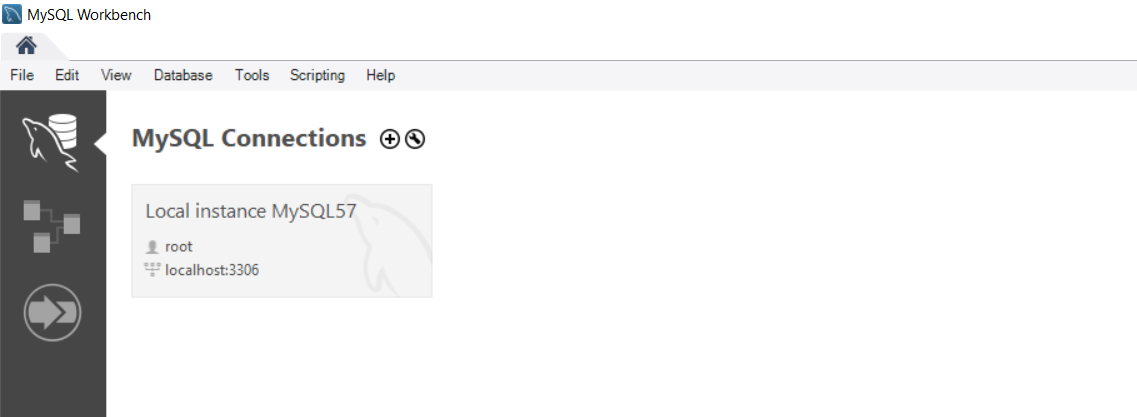
Click on Finish Button and the installer starts MySQL Workbench. The default window looks like the one shown in Fig 10.

Fig 10
It list down the available MySQL servers. We can add another database server installed on the system by clicking on the Plus Button.
These are the basic steps required to install MySQL Workbench separately without MySQL Installer.

