PyCharm is among the most popular IDEs for Python development. This tutorial provides all the steps required to install PyCharm for Python development on Windows 10. The steps should be similar for other versions of Windows.
You might also be interested in How To Install Python 3.8 On Windows, How To Install Eclipse for Python On Windows, and How To Install VSCode For Python On Windows for Python development on Windows.
Download PyCharm
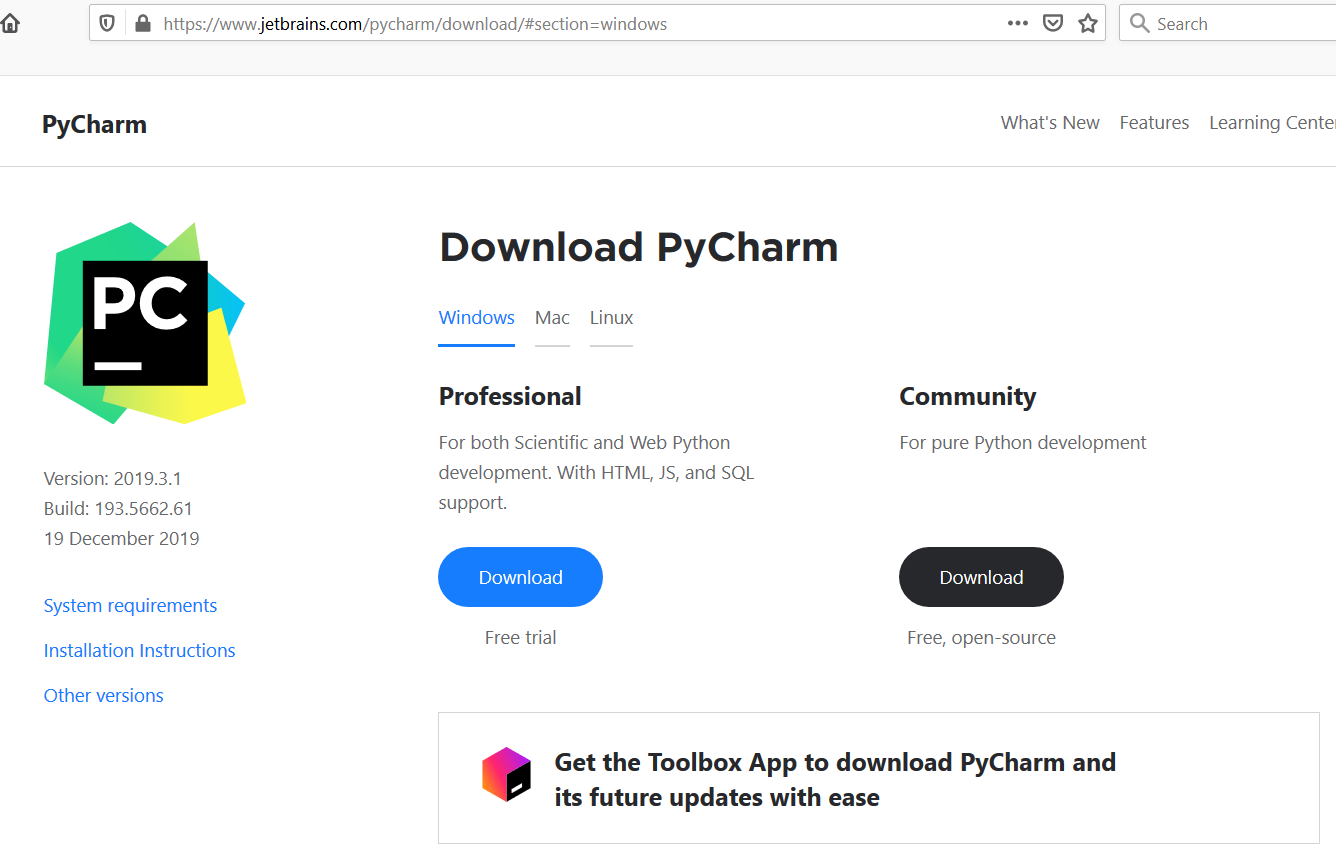
Download PyCharm from the official website of JET BRAINS. The PyCharm is distributed as Professional for pure Python and Web Python development and Community for pure Python development as shown in Fig 1. In this tutorial, we will download the Community edition. The installation steps are the same for both Community and Professional editions.

Fig 1
Install PyCharm
In this step, we will install PyCharm using the installer downloaded in the previous step. Execute the installer to start installing Pycharm. It will ask for system permissions. Allow the installer to continue with the installation. It will show the Welcome Screen as shown in Fig 1.

Fig 2
Now click the Next Button to choose the installation location as shown in Fig 3.

Fig 3
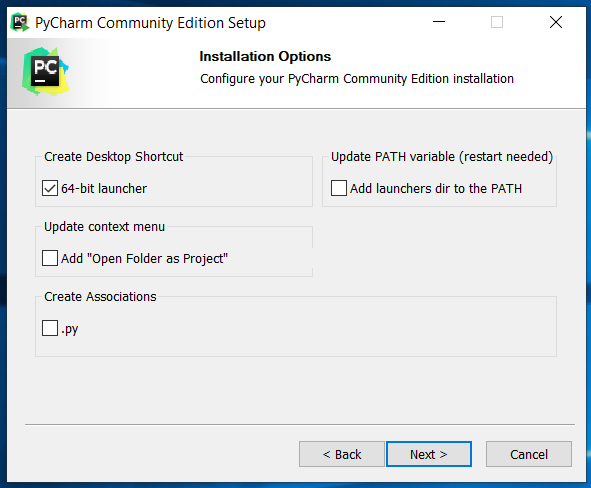
Click the Next Button to configure the installation options as shown in Fig 4.

Fig 4
I have selected the option to add the 64-bit launcher on my desktop as shown in Fig 4. Click the Next Button to configure the Start Menu option as shown in Fig 5.

Fig 5
Now click the Install Button to start the installation. The next screen shows the installation progress as shown in Fig 6.

Fig 6
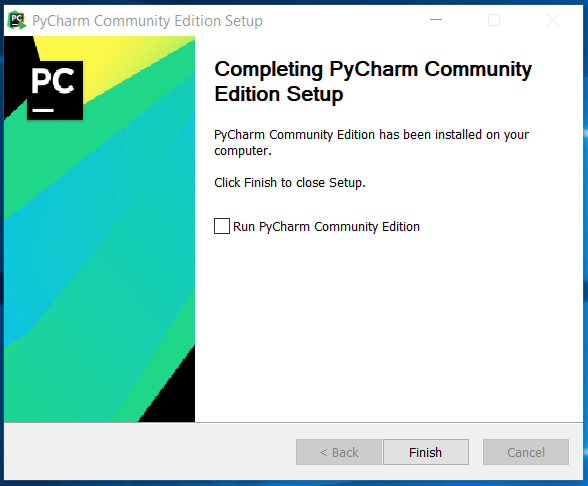
It shows the success message after completing the installation as shown in Fig 7.

Fig 7
Click the Finish Button to close the installer. This is how we can install the Community Edition of PyCharm on Windows 10.
Hello World
In this step, we will write our first program in Python to print Hello Python on the console. Launch the IDE using the launcher icon available on the desktop. It asks to import the settings from the previous installation. I did a fresh install, hence selected the second option as shown in Fig 8.

Fig 8
Click the OK Button. The next screen provides options to choose the UI Theme as shown in Fig 9.

Fig 9
I have clicked the Skip Remaining and Set Defaults Button to continue with the development. You may proceed to check other options by clicking the Next Featured plugins Button.
On the next screen, we can choose to either create a new project or choose an existing one as shown in Fig 10.

Fig 10
Now click the Create New Project Button to create our first project. The New Project Wizard provides options to choose the project location and Python interpreter as shown in Fig 11.

Fig 11
Click the Create Button to create the HelloWorld project. The IDE opens the HelloWorld project as shown in Fig 12. It will also show the Tips Dialog to keep us updated about the IDE.

Fig 12
Now right click on the project and choose New -> Python File and provide file name as shown in Fig 13 and Fig 14.

Fig 13

Fig 14
Press Enter to create the file. It will open the blank Python file as shown in Fig 15.

Fig 15
Now update the file to print Hello Python as shown in Fig 16.

Fig 16
Now right click on the Program File to run it and view the output as shown in Fig 17 and Fig 18.

Fig 17

Fig 18
This is the easiest way to write and execute the Python programs in PyCharm.
Summary
This tutorial provided steps required to install PyCharm on Windows 10 and also provided step by step guide to write and execute the first Python program in PyCharm.

