Sometimes, we might be required to import an existing virtual machine to the VMware Fusion installed on the Mac machine. This tutorial provides the steps required to import an Ubuntu 18.04 Open Virtualization Format (OVF) 1.0 virtual machine to VMware Fusion 15 installed on macOS High Sierra. The steps should be the same for other versions of the macOS.
You might also be interested in How To Install VMware Fusion On Mac, How To Export Virtual Machine On VirtualBox To OVF, How To Install VirtualBox On Windows, How To Install Ubuntu On Windows Using VirtualBox, and How To Install Ubuntu On Windows Using VMware Workstation Player With Easy Install.
The default screen of the VMware Fusion should be the same as shown in Fig 1. I have removed other virtual machines for demonstration purposes.

Fig 1
Import Virtual Machine
In this step, we will import the Ubuntu 18.04 Open Virtualization Format (OVF) 1.0 virtual machine exported by VirtualBox on Windows 10. You can follow How To Export Virtual Machine On VirtualBox To OVF to get the steps required to generate the OVF virtual machine.
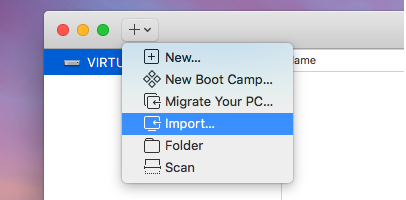
Now click the Plus Icon at the top of VMware Fusion. It shows the possible options as shown in Fig 2.

Fig 2
Click the Import Option to start importing the virtual machine. It shows the possible options as shown in Fig 3.

Fig 3
Click the Choose File Button to browse the virtual machine as shown in Fig 4.

Fig 4
Now select the virtual machine and click the Open Button to choose the virtual machine. It will add the Virtual Machine to the import list as shown in Fig 5.

Fig 5
Now click Continue Button to choose the name and location of the imported virtual machine as shown in Fig 6.

Fig 6
Click Save Button to start importing the selected virtual machine. It might show a warning message to retry as shown in Fig 7.

Fig 7
Click the Retry Button to relax OVF specifications. It will show the import progress as shown in Fig 8.

Fig 8
It will show the Finish Screen with virtual machine details after completing the import process as shown in Fig 9.

Fig 9
Now click the Finish Button to finalize the import. It will add the virtual machine to the VMware Fusion library as shown in Fig 10.
Play Virtual Machine
Now right-click the virtual machine to view the possible options as shown in Fig 10.

Fig 10
Click the Start Up Option as highlighted in Fig 10 to play the selected virtual machine. It will ask to upgrade the virtual machine as shown in Fig 11.

Fig 11
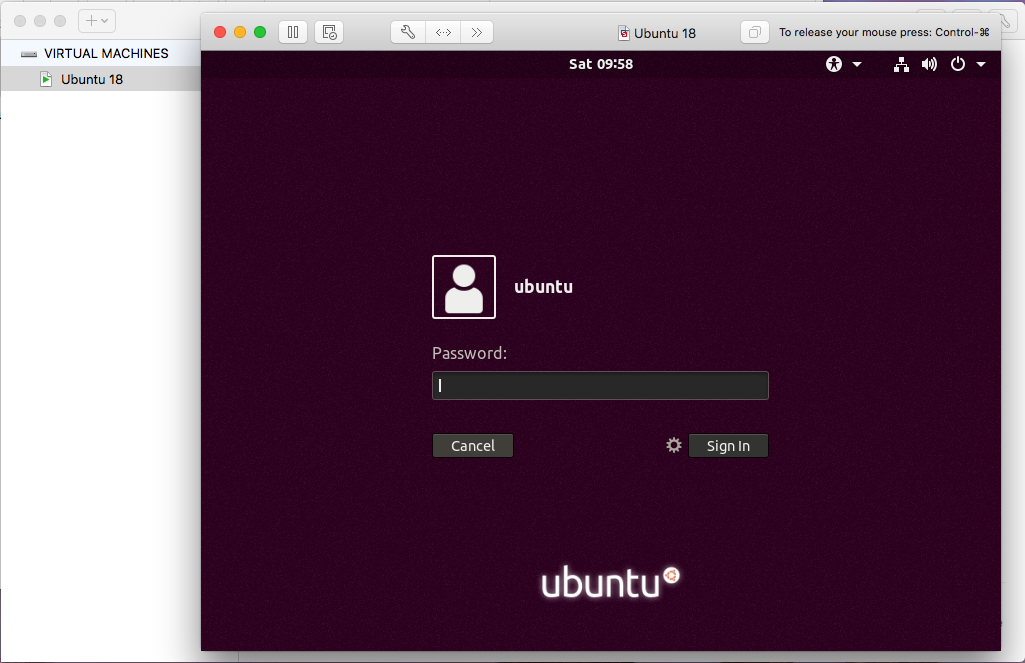
The upgrade option didn't work for the virtual machine imported by me. Hence, I have followed all the steps to import the same virtual machine. This time, I have selected Don't Upgrade Option and it went fine. It will show the boot progress and the Login Screen as shown in Fig 12, Fig 13, Fig 14, Fig 15, and Fig 16.

Fig 12

Fig 13

Fig 14

Fig 15

Fig 16
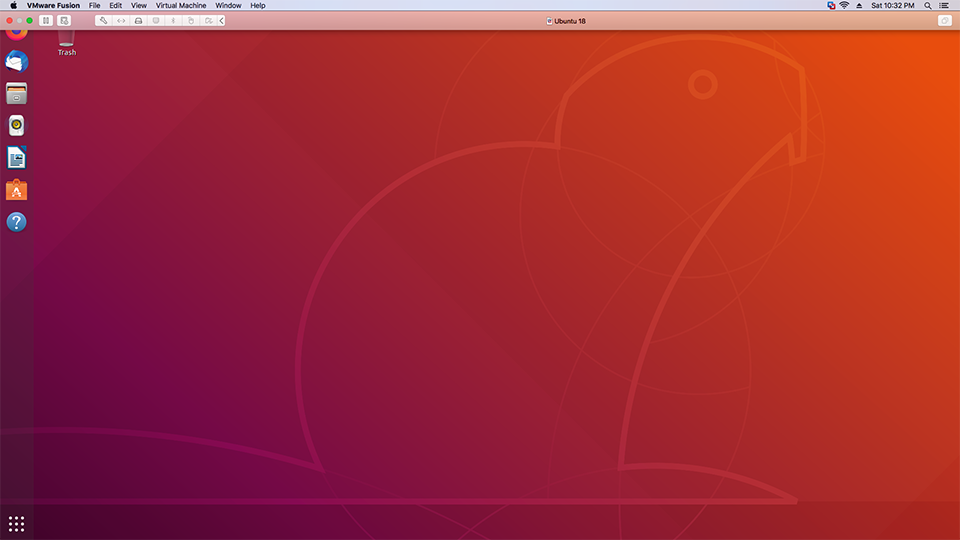
We can use the same credentials as we used on the virtual machine before exporting it. It will show the Ubuntu Desktop after login success as shown in Fig 17.

Fig 17
I have also maximized the virtual machine. It does not cover the entire screen and the UI is blurry as shown in Fig 18. We need to install VMware Tools to fix it.
Install VMware Tools
In this step, we will install VMware Tools on the Ubuntu 18.04 virtual machine imported by us in the previous step. You can also follow How To Install Windows On Mac Using VMware Fusion - Part 2 to install VMware Tools on Windows 10.
Open the terminal and use the below-mentioned commands to install VMware Tools on Ubuntu.
# Refresh Packages
sudo apt-get update

# Install VMware Tools
sudo apt-get install open-vm-tools

# Install VMware Tools for Desktop
sudo apt-get install open-vm-tools-desktop
The sample output of the above commands is shown in Fig 18, Fig 19, and Fig 20.

Fig 18

Fig 19

Fig 20
Now close the terminal. Power Off the virtual machine and again start it. The blurry screen should be clear and it will occupy the entire screen of the virtual machine on maximizing the window as shown in Fig 21.

Fig 21
Apart from the UI, VMware tools also add several other utilities including networking for optimal performance. Now we can do regular operations like suspending, power off, resuming and starting the virtual machine imported by us.

Fig 22
Summary
This tutorial provided all the steps required to import an existing virtual machine in Open Virtualization Format (OVF) to the VMware Fusion installed on the Mac machine. It also provided the steps to install the VMware Tools in the last section.

