NetBeans is among the most popular IDEs used for PHP development. This tutorial provides all the steps required to create the first PHP project in NetBeans. The steps are the same for all the operating systems including Windows, Ubuntu, etc.
Prerequisites
This tutorial assumes that NetBeans and PHP are already installed on the system. You can follow How To Install NetBeans On Windows. You can also follow How To Install PHP 7 On Windows or How To Install PHP 7 On Ubuntu 18.04 LTS to install the most recent version of PHP. You can also install the PHP bundled with XAMPP or WAMP by following How To Install XAMPP On Windows or How To Install WampServer on Windows.
Create PHP Project
Start the IDE in case it's not running. Now click the File Options on Main Menu -> New Project. It will show the New Project Wizard as shown in Fig 1.

Fig 1
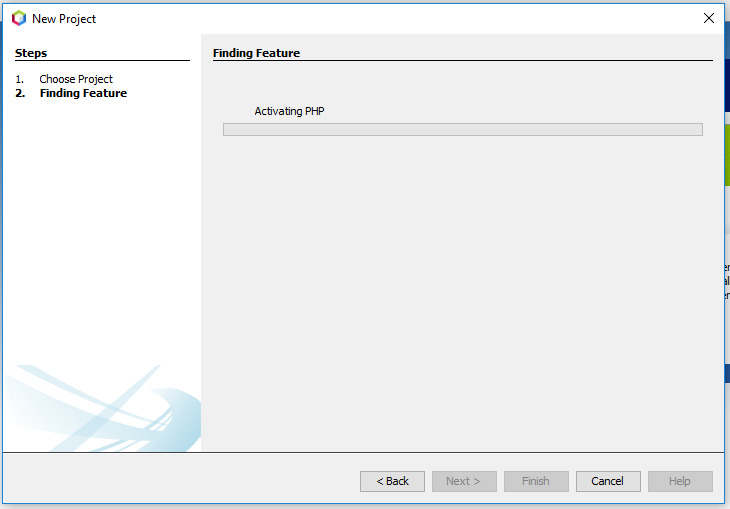
Select PHP from the Categories option and also select PHP Application from Projects option as highlighted in Fig 1. The NetBeans 11 will show a message in the description section to enable appropriate plugins required for PHP development, in case it's the first project. Now click the Next Button. On the next wizard, NetBeans will find the corresponding plugins required for PHP development as shown in Fig 2 and shows the project configuration options as shown in Fig 3.

Fig 2

Fig 3
You can choose the appropriate location of the project and PHP version depending on your project needs.
Provide the project name and location based on your requirements and also select the PHP version. I have selected PHP 7.4 since it's already installed on my system. You can follow How To Install PHP 7 On Windows to install the most recent version of PHP. You can also install PHP bundled with XAMPP or WAMP by following How To Install XAMPP On Windows or How To Install WampServer on Windows. Now click on the Next Button. The next wizard provides options to choose the project's runtime configurations. I have selected Script for this tutorial as shown in Fig 4.

Fig 4
It also asks for the corresponding PHP Interpreter to execute the program for the Script Option. The configuration should be similar to the one as shown in Fig 5 and Fig 6.

Fig 5
Click the Apply Button to apply the PHP Interpreter configurations.

Fig 6
Apart from Script Option to run PHP program on the console, there are few more options specific to Runtime including Local Web Site, Remote Web Site, and PHP Built-in Web Server. This tutorial does not discuss the additional Runtime configuration. After selecting the Script as a Runtime option, we can also select the location where PHP is installed.
Now click the Next Button. The next screen provides options to configure the PHP Frameworks as shown in Fig 7.

Fig 7
Now click the Next Button. The next wizard provide options to configure Composer as shown in Fig 8. We will simply skip this step since we will be writing a simple Hello World program in this tutorial.

Fig 8
Now click the Finish Button to complete the project set up. The project with default index.php file created by NetBeans looks like the one shown in Fig 9.

Fig 9
Hello PHP
In this step, we will update the index.php program and execute it on the console. Write Hello PHP as shown below.
<?php
echo "Hello PHP !!";
Now right-click on the index.php file in the Projects Window on the left panel. Also, click on Run to execute the program as shown in Fig 10. You can also select the File on Projects Window and press Shift + F6 to execute the program.

Fig 10
It will show the output as shown in Fig 11.

Fig 11
These are the basic steps required to write and execute PHP programs using NetBeans 11.
Summary
This tutorial explained the steps required to create the first PHP project using NetBeans 11 and also explained to write and execute the PHP programs.

